How to set up PacInfo email in Windows Mail.
Open the mail app and click on “Accounts” on the left side, and then click on “+ Add account” on the right side to get to the next screen.

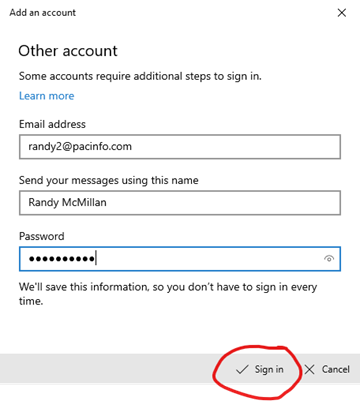
Select “Other account POP, IMAP”. When you click on this, it generally defaults to creating an IMAP account. That is OK.

Enter your email address, name and password, and click “Sign in” to test the account and finish creating it.
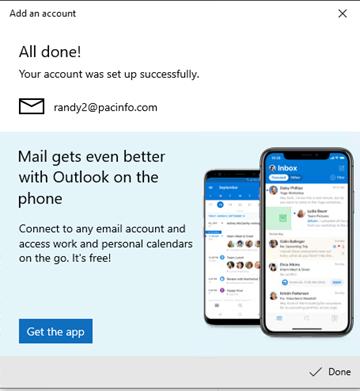
If all goes well, then you should see the next screen saying “All done!”
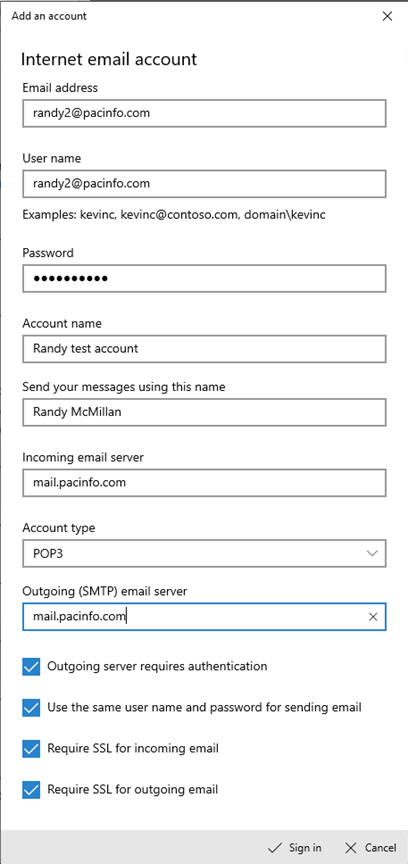
If you really want to set up a POP account, then
Click on Advanced setup instead of the generic POP or IMAP and you can do everything manually.
First thing is to select the general type of account, which would be the Internet email.

Enter all the information below. Here again, you can select either POP3 or IMAP.
Mail server names are “mail.pacinfo.com”
Username is your email address.
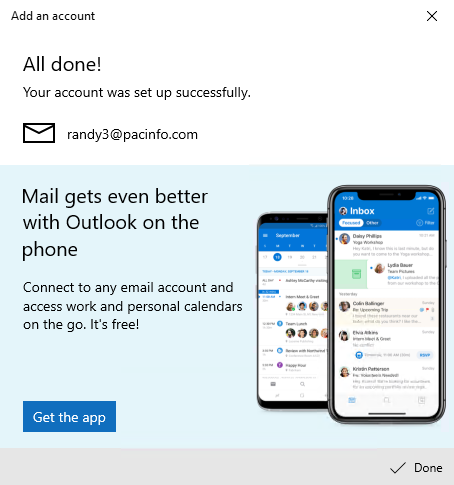
When you have all the information entered, click on the “Sign in” button on the bottom right to test the settings and create the account. If everything goes OK, then you should see the next screen saying “All done!”